⚡ Quick Start
After installing KitchenAsty, follow this walkthrough to explore the platform.
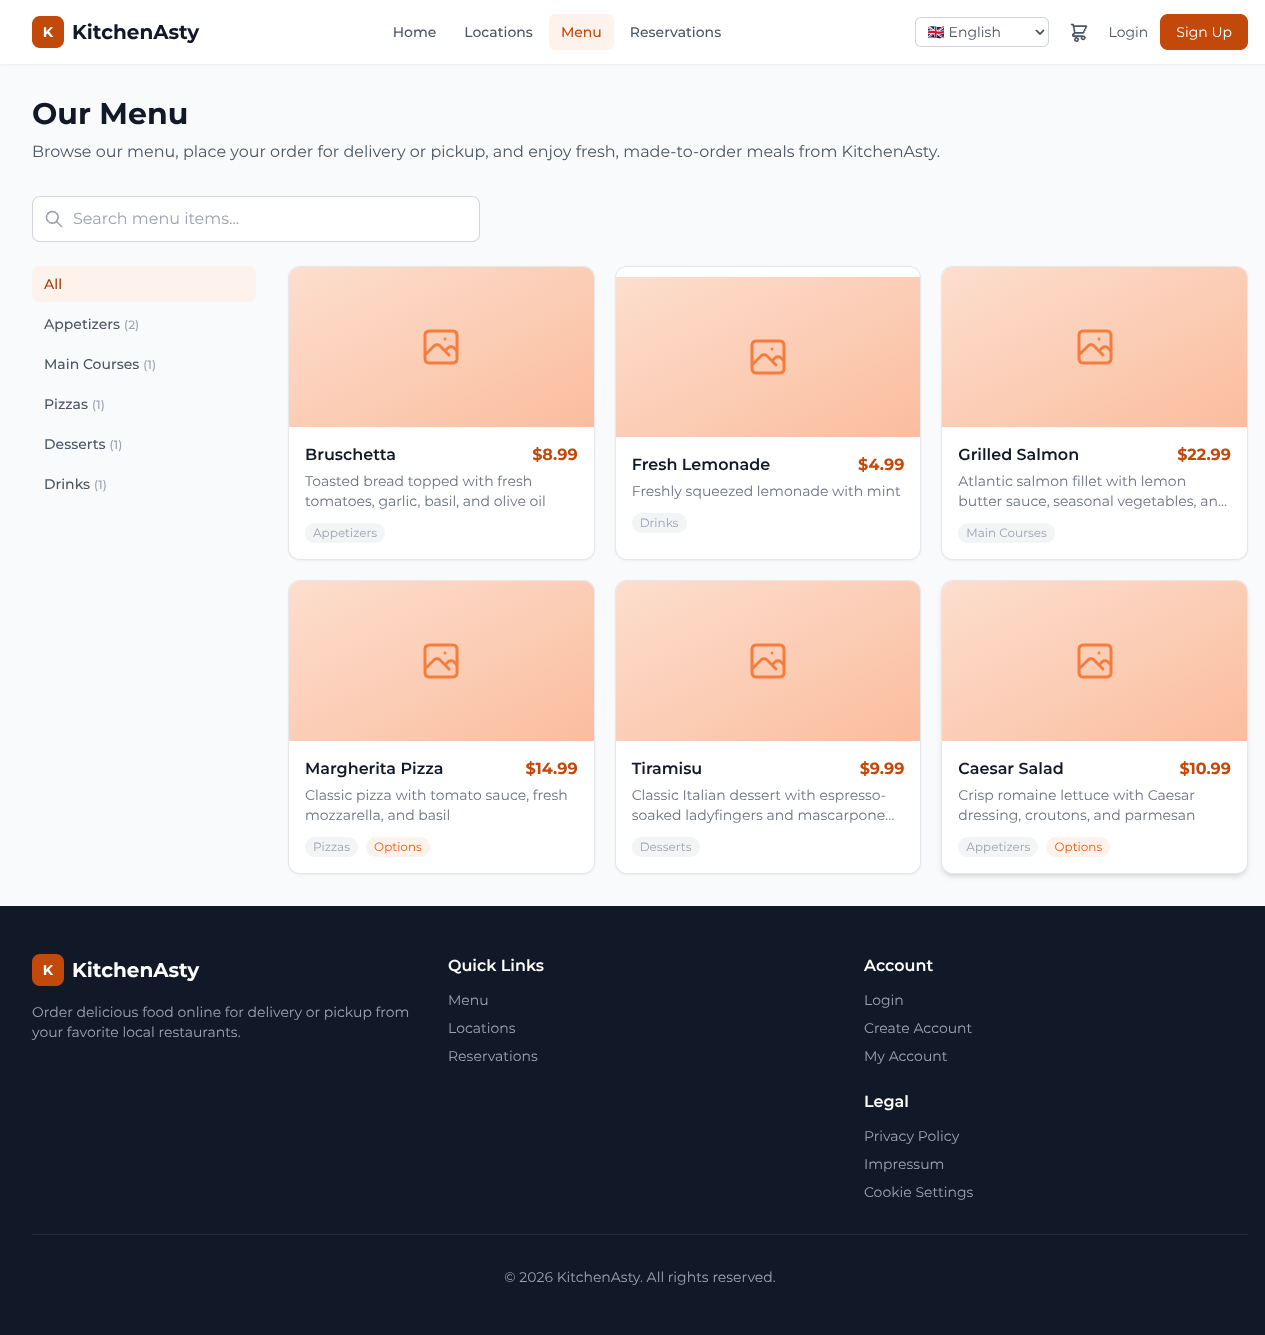
🛒 Place Your First Order
- Open the Storefront at http://localhost:5174
- Select a location
- Browse the menu and add items to the cart
- Choose Delivery or Pickup
- Complete checkout as a guest or register an account
- Choose a payment method (cash for quickest testing)
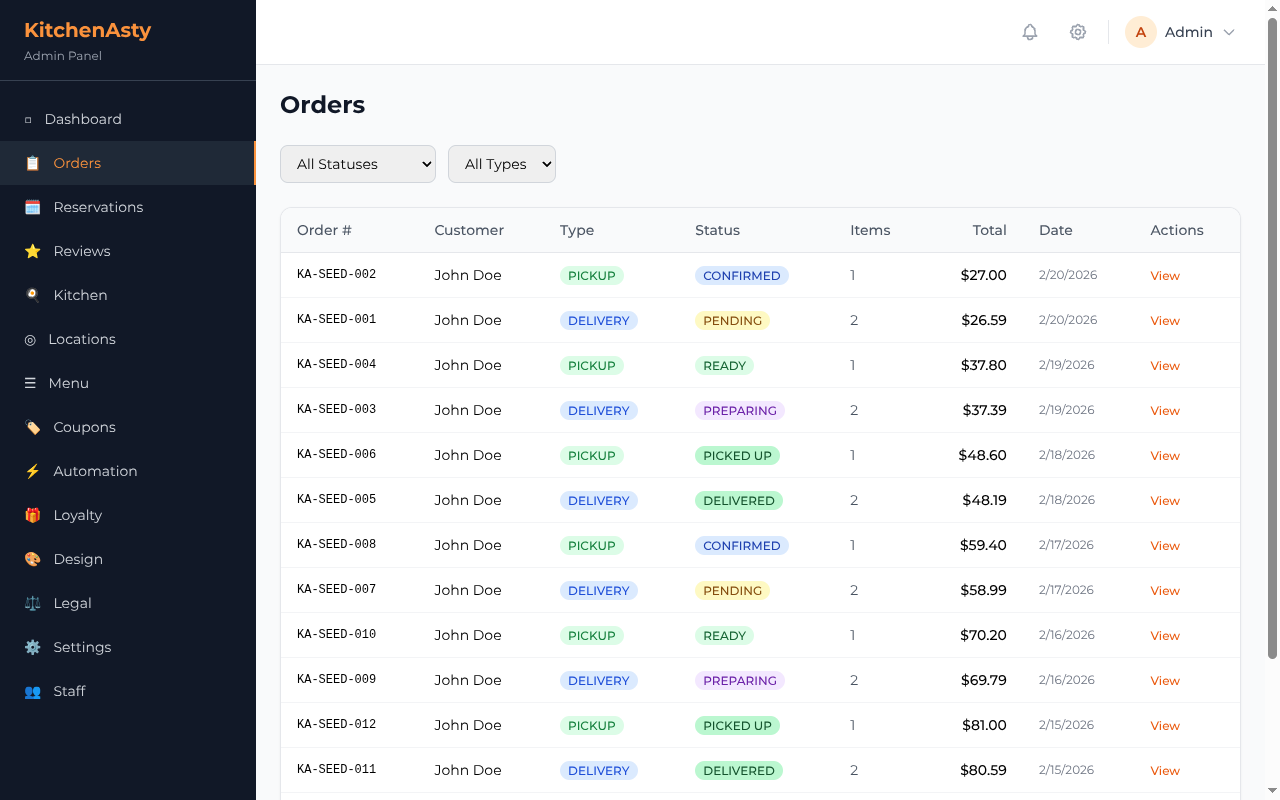
📋 Manage Orders in Admin
- Open the Admin Dashboard at http://localhost:5173
- Log in with
admin@kitchenasty.com/admin123 - Navigate to Orders to see the order you just placed
- Update the order status: Pending → Confirmed → Preparing → Ready → Delivered/Picked Up
🍔 Create a Menu Item
- In the Admin Dashboard, go to Menu → Items
- Click Add Item
- Fill in the name, price, description, and select a category
- Add menu options (e.g., size with Small/Medium/Large)
- Upload an image
- Save — the item appears on the storefront immediately
📍 Set Up a Location
- Go to Locations in the admin
- Click Add Location
- Fill in the name, address, and contact info
- Set Operating Hours for each day of the week
- Create Delivery Zones with minimum order and delivery fee
- Add Tables for reservation management
📅 Create a Reservation
- On the Storefront, navigate to Reservations
- Select a location, date, time, and party size
- The system checks table availability automatically
- Submit the booking — staff can confirm it in the admin
🍳 Try the Kitchen Display
- Open two browser tabs
- In one tab, place an order on the storefront
- In another tab, navigate to the kitchen display in the admin
- Watch the order appear in real-time via Socket.IO
👉 What's Next
- 🍽️ Menu Management — Categories, options, allergens, and mealtimes
- ⚙️ Configuration — Customize payment providers, email, and more
- 📖 API Reference — Integrate with external systems